Installing the MySammy Client Server Software
The following instructions help you install and configure MySammy software. The MySammy Client Server software should be installed on at least one machine within a network and used for all laptop installations.
- Browse Your MySammy Management Website (Your-Account-ID.Your-Country-Code.mysammy.com) Example: http://socal.us.mysammy.com
- Click the Client tab
- On Windows XP or above click on the appropriate version for your environment, Download 32 bit or Download 64 bit.
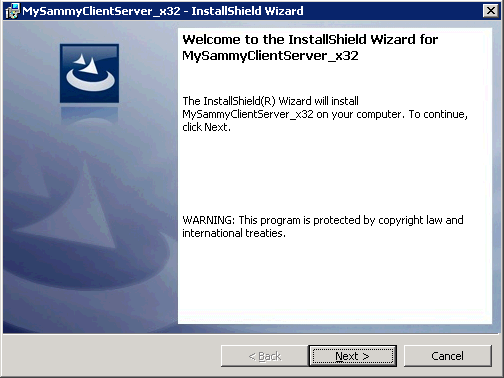
- This will lanch the MySammy install wizard, click next.
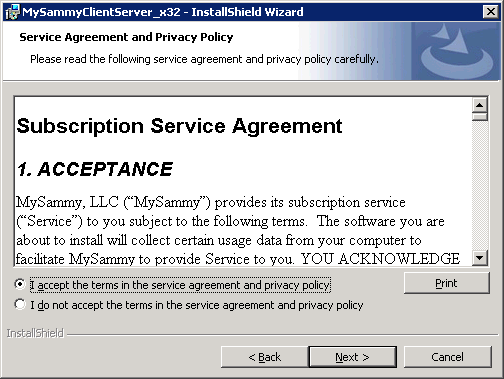
- After reviewing and agreeing to the Subscription Service, select I accept the terms in the service agreement and privacy policy and cllick next
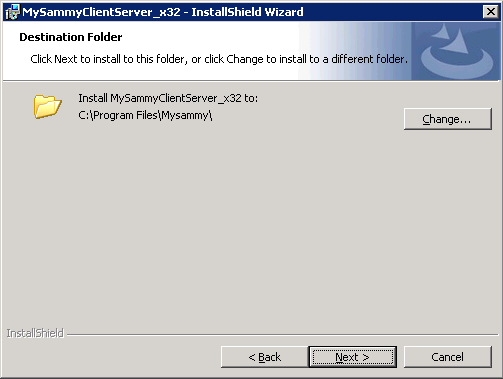
- Click Change if you would like to select a different desination folder for the MySammy program files, to use the default click next.
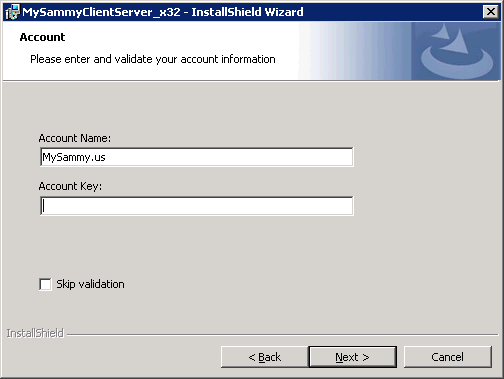
- Provide your Account Name and Account Key (these are included in your sign up email), then click next.
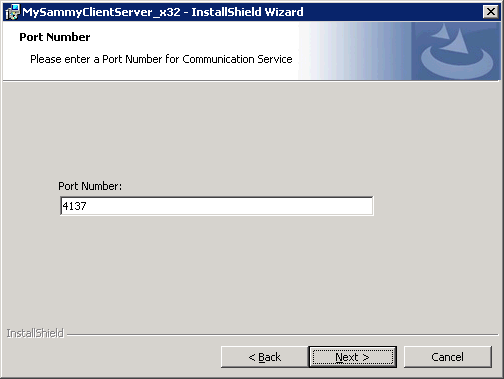
- Click next to use the default port 4137, otherwise you may choose to change it now.
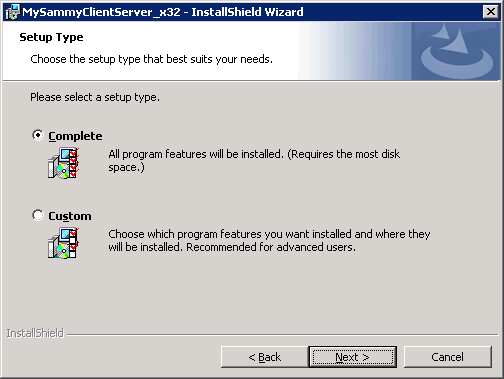
- Choose Setup Type Complete.
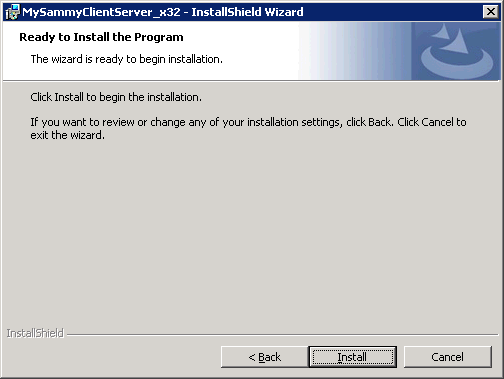
- Click Install to begin the installation of MySammy software.
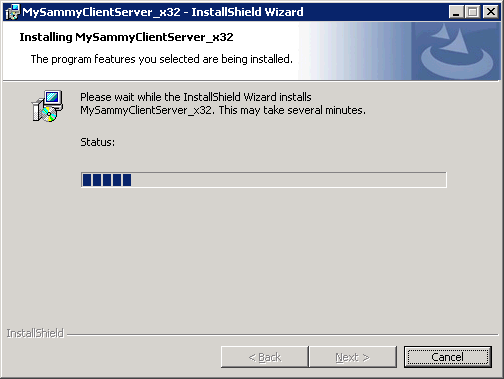
- Please wait while the install runs, it will only take a few moments.
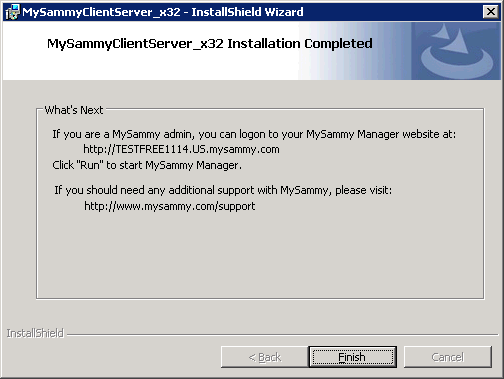
- Your install is now complete.